
 English
 Español
 Français
 Deutsch
 Português
 Italian
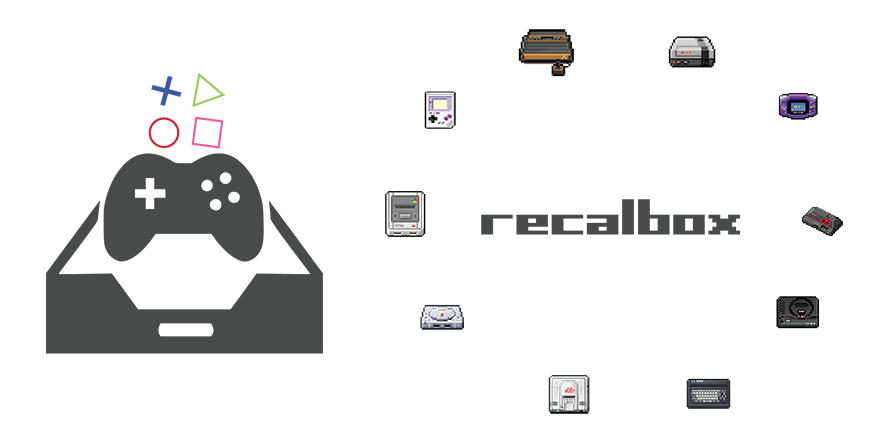
Recalbox is a free and open source project
feel free to participate :)
Create your own recalbox
If you are here, you are in the process of creating your own multi-emulation platform for your HDMI TV, or even an Arcade Cabinet with an embedded system!
You're on the right page!
Follow the guide and create your own Recalbox in 3 easy steps.
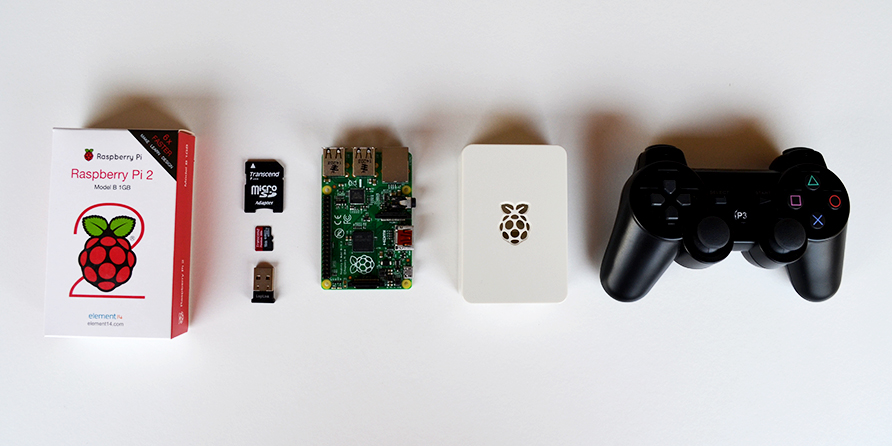
STEP 1. Get the hardware.
- A Raspberry Pi 3B+ (actually any model other than A/A+ is supported)
- A microSD card >= 16GB
- A good quality micro USB power supply > 2.5A
- A HDMI Cable
- A PS3 Sixaxis, a Dualshock 3, a Shanwan Copy, or a USB controller
- A high quality Bluetooth Dongle
- A Raspberry Pi Case
- A USB keyboard if you don't have an OOTB controller.
Once you have all these components, you can begin the installation of Recalbox OS on your micro SD card.
STEP 2. Install Recalbox OS.
It's time to download and install Recalbox OS !
Go to
download.recalbox.com
to download the latest version of Recalbox OS. Select the image according to your board. Then use
balenaEtcher
to burn the downloaded `.img.xz` file on your SD card.
Insert the micro SD into your RPi, plug in the HDMI, the keyboard and the power cable. Your Raspberry Pi boots and the installer starts to copy files.
You now have a Recalbox!
STEP 3. Configure your Recalbox.
You may want to configure your controller for your new Recalbox!
If you have a PS3 controller with a bluetooth dongle, just take a micro usb cable, plug the controller into Recalbox and wait 10 seconds. You can now unplug the controller and press the HOME button. Your controller is configured!
If you have a Xbox 360 USB controller, just plug it in and play!
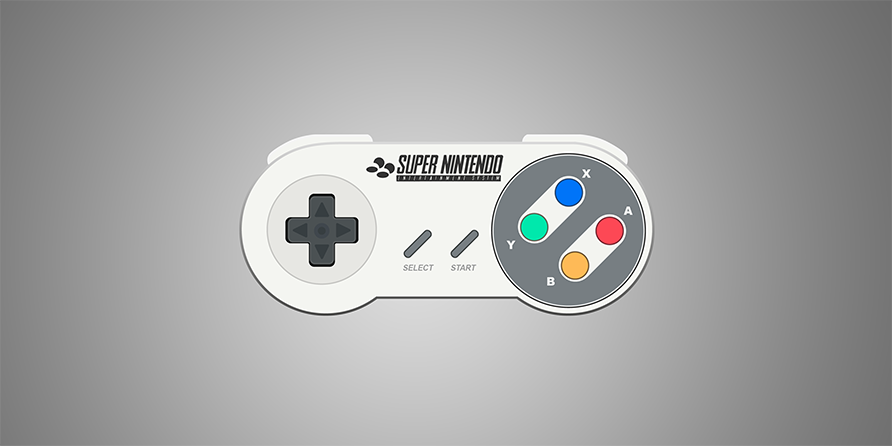
If you have a USB controller, plug your USB keyboard, press ENTER in the frontend, select the 'Configure Input' entry with S key, then select 'Configure a controller' and press the S key again. Follow the instructions and map each controller button to the corresponding button on the screen. Buttons are named after Super Nintendo controllers.
See the wiki for more info!
Please share your project with us in our forum: https://forum.recalbox.com/topic/7/your-recalbox-vos-recalbox